 BackupWatch Docs
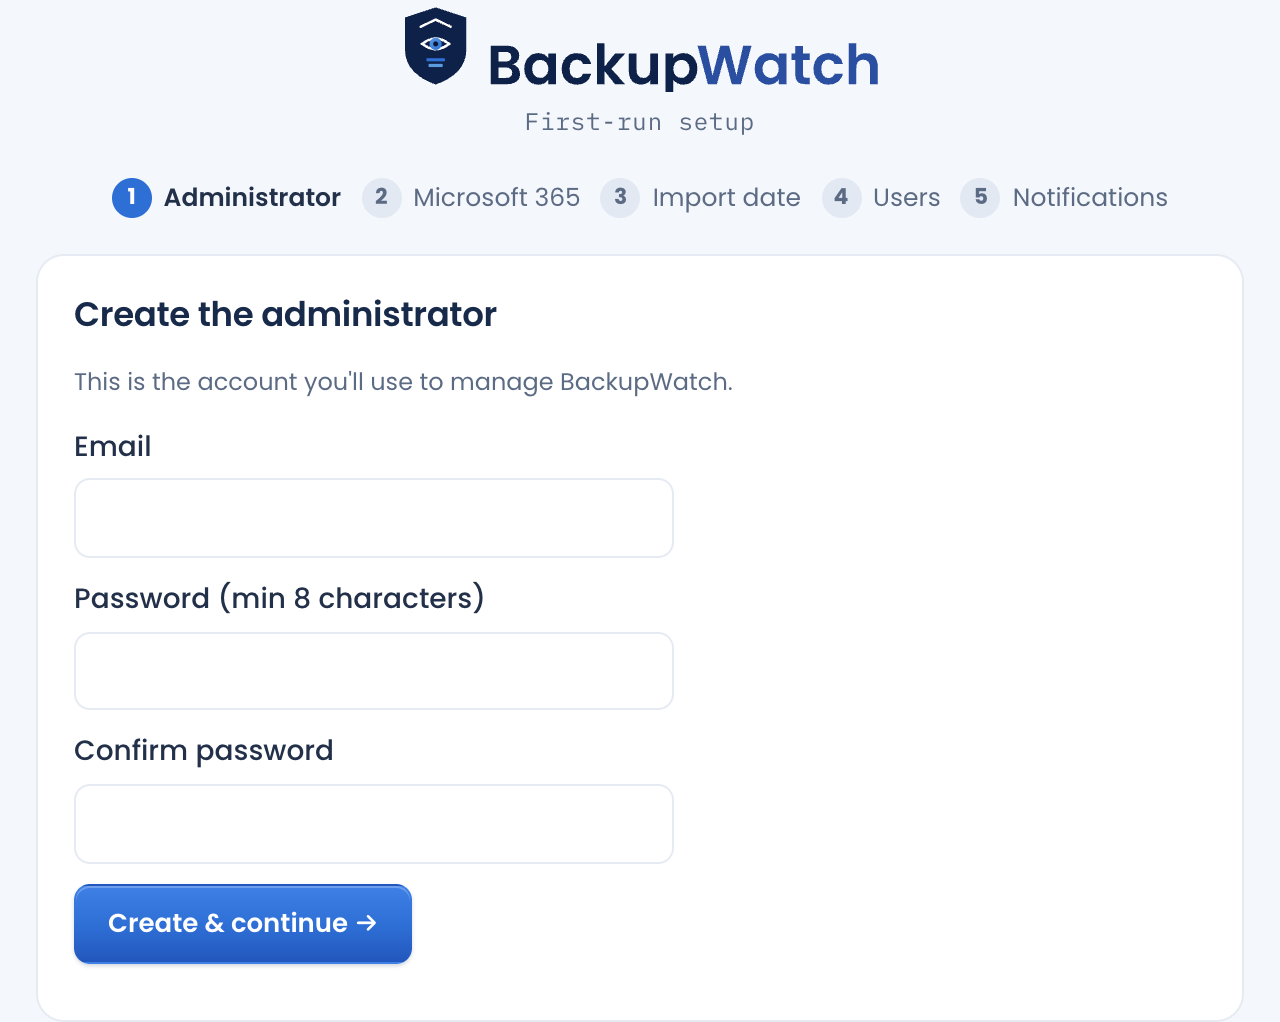
Step 1 — Create the administrator
This is the account you'll sign in with to manage BackupWatch: an email address and a password of at least 8 characters, confirmed once.
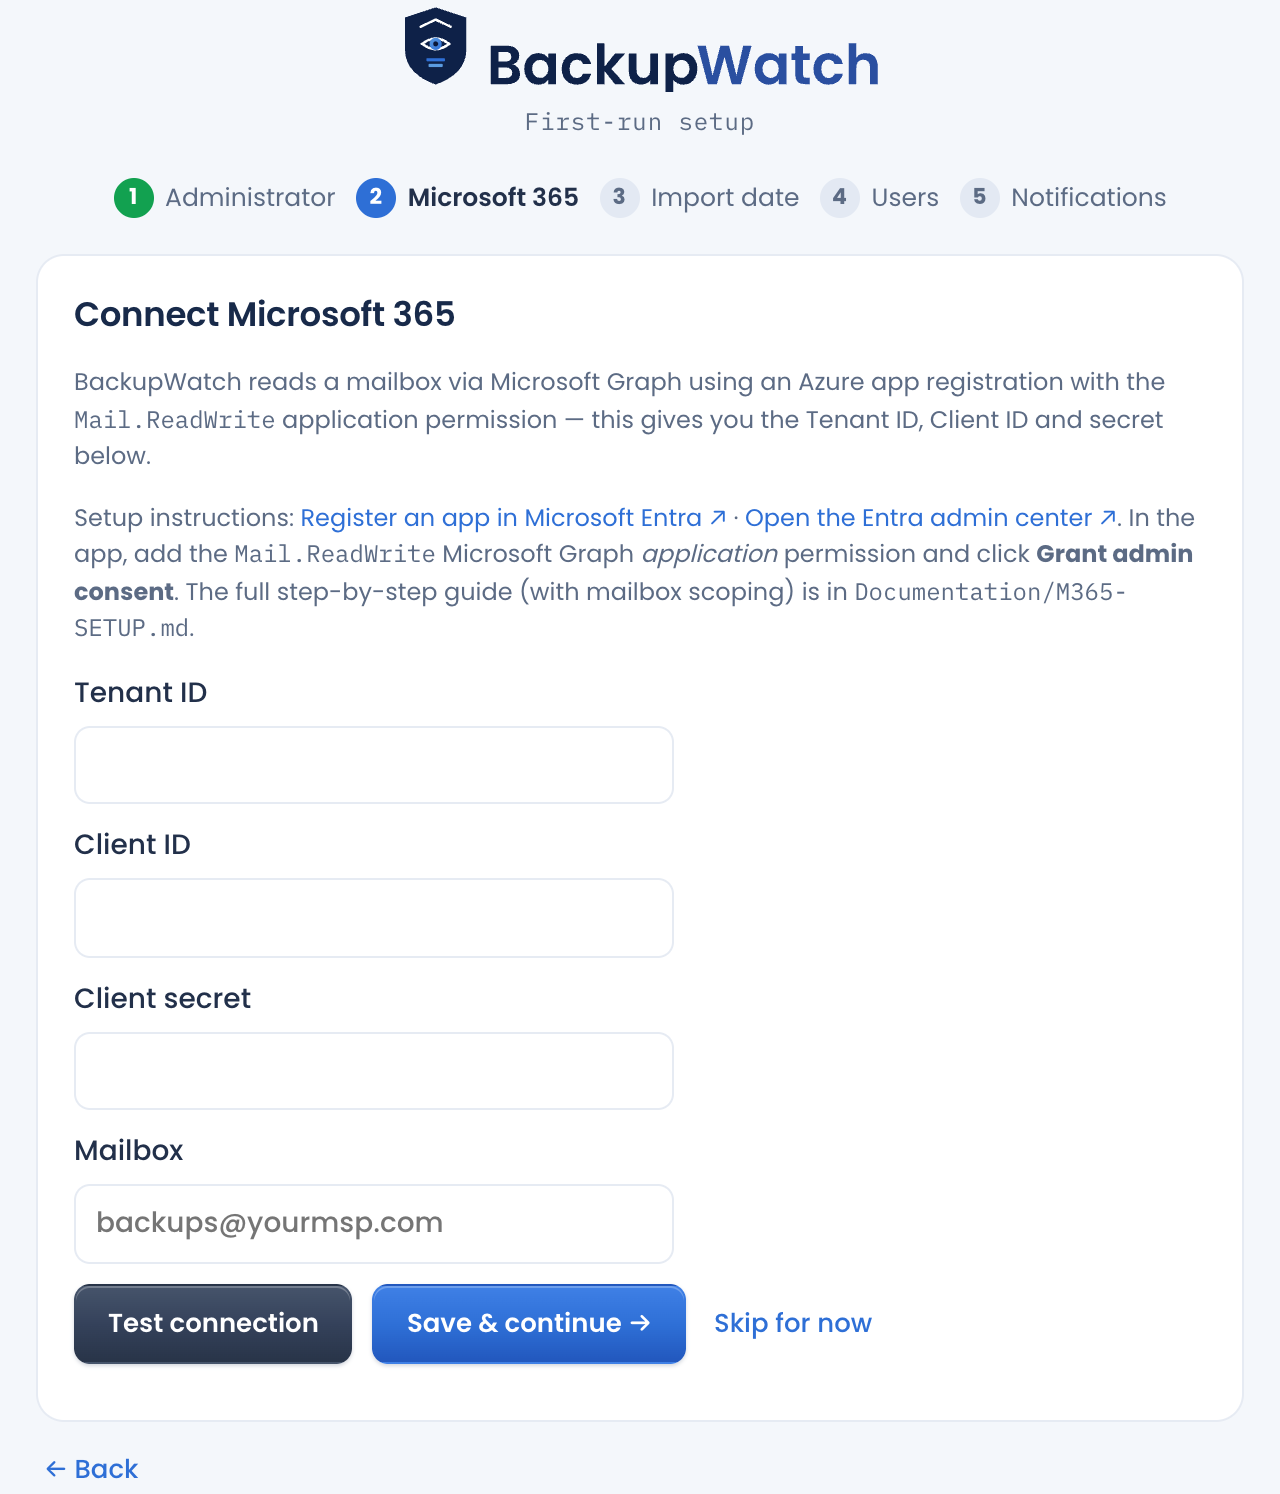
Step 2 — Connect Microsoft 365
BackupWatch reads a mailbox via Microsoft Graph using an Azure app registration with the
Mail.ReadWrite application permission — that registration is what gives you
the Tenant ID, Client ID, and client secret this step asks for, plus the mailbox address
to watch. Test connection checks the credentials without saving;
Save & continue keeps going.
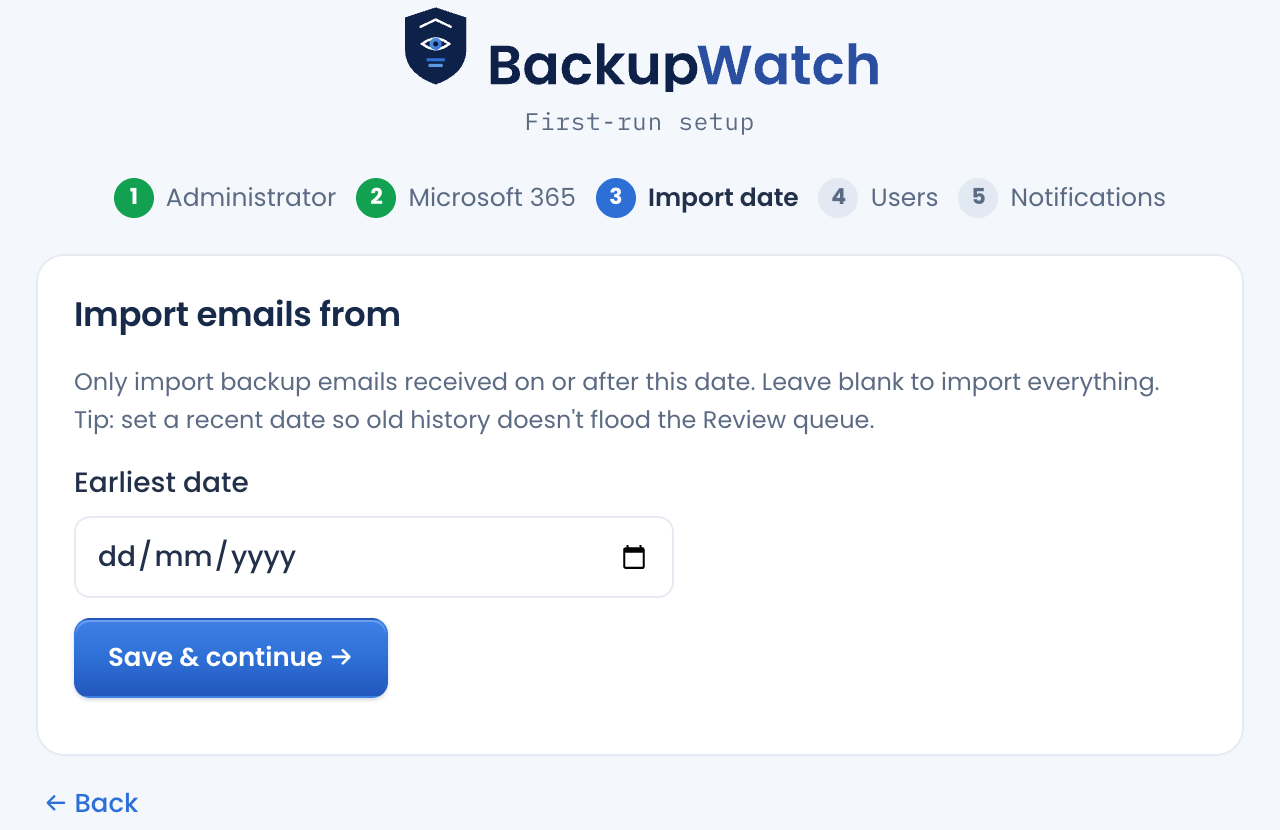
Step 3 — Import date
Only backup emails received on or after this date get imported once polling starts. Leave it blank to import everything already in the mailbox — fine for a brand-new mailbox, but on an existing one with months of history it's worth setting a recent date so old mail doesn't flood the Review queue on day one.
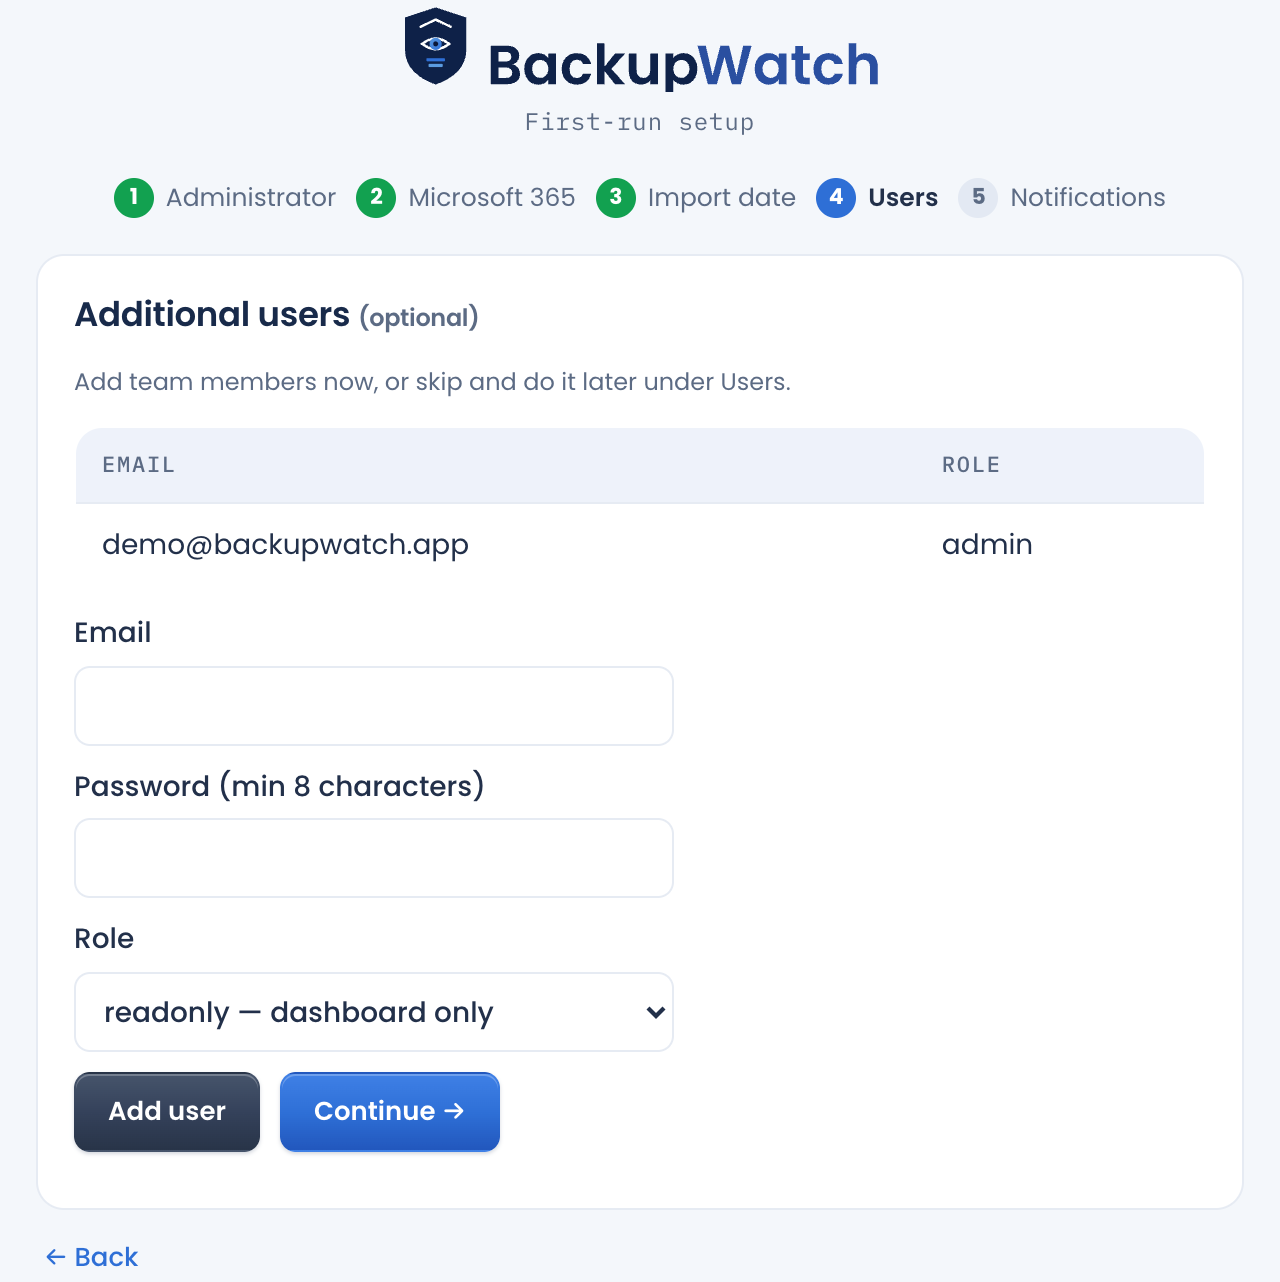
Step 4 — Additional users (optional)
Add teammates now with a role — admin (full access), tech (clients, jobs, rules, Review), or readonly (dashboard only) — or skip and add them later under Users.
Step 5 — Failure & missed-backup alerts
Where alerts and the daily digest are sent, and the SMTP server BackupWatch sends them through. Every field here can be changed later in Settings, which also has a Send test email button. Full field-by-field reference: Alerts & Email.
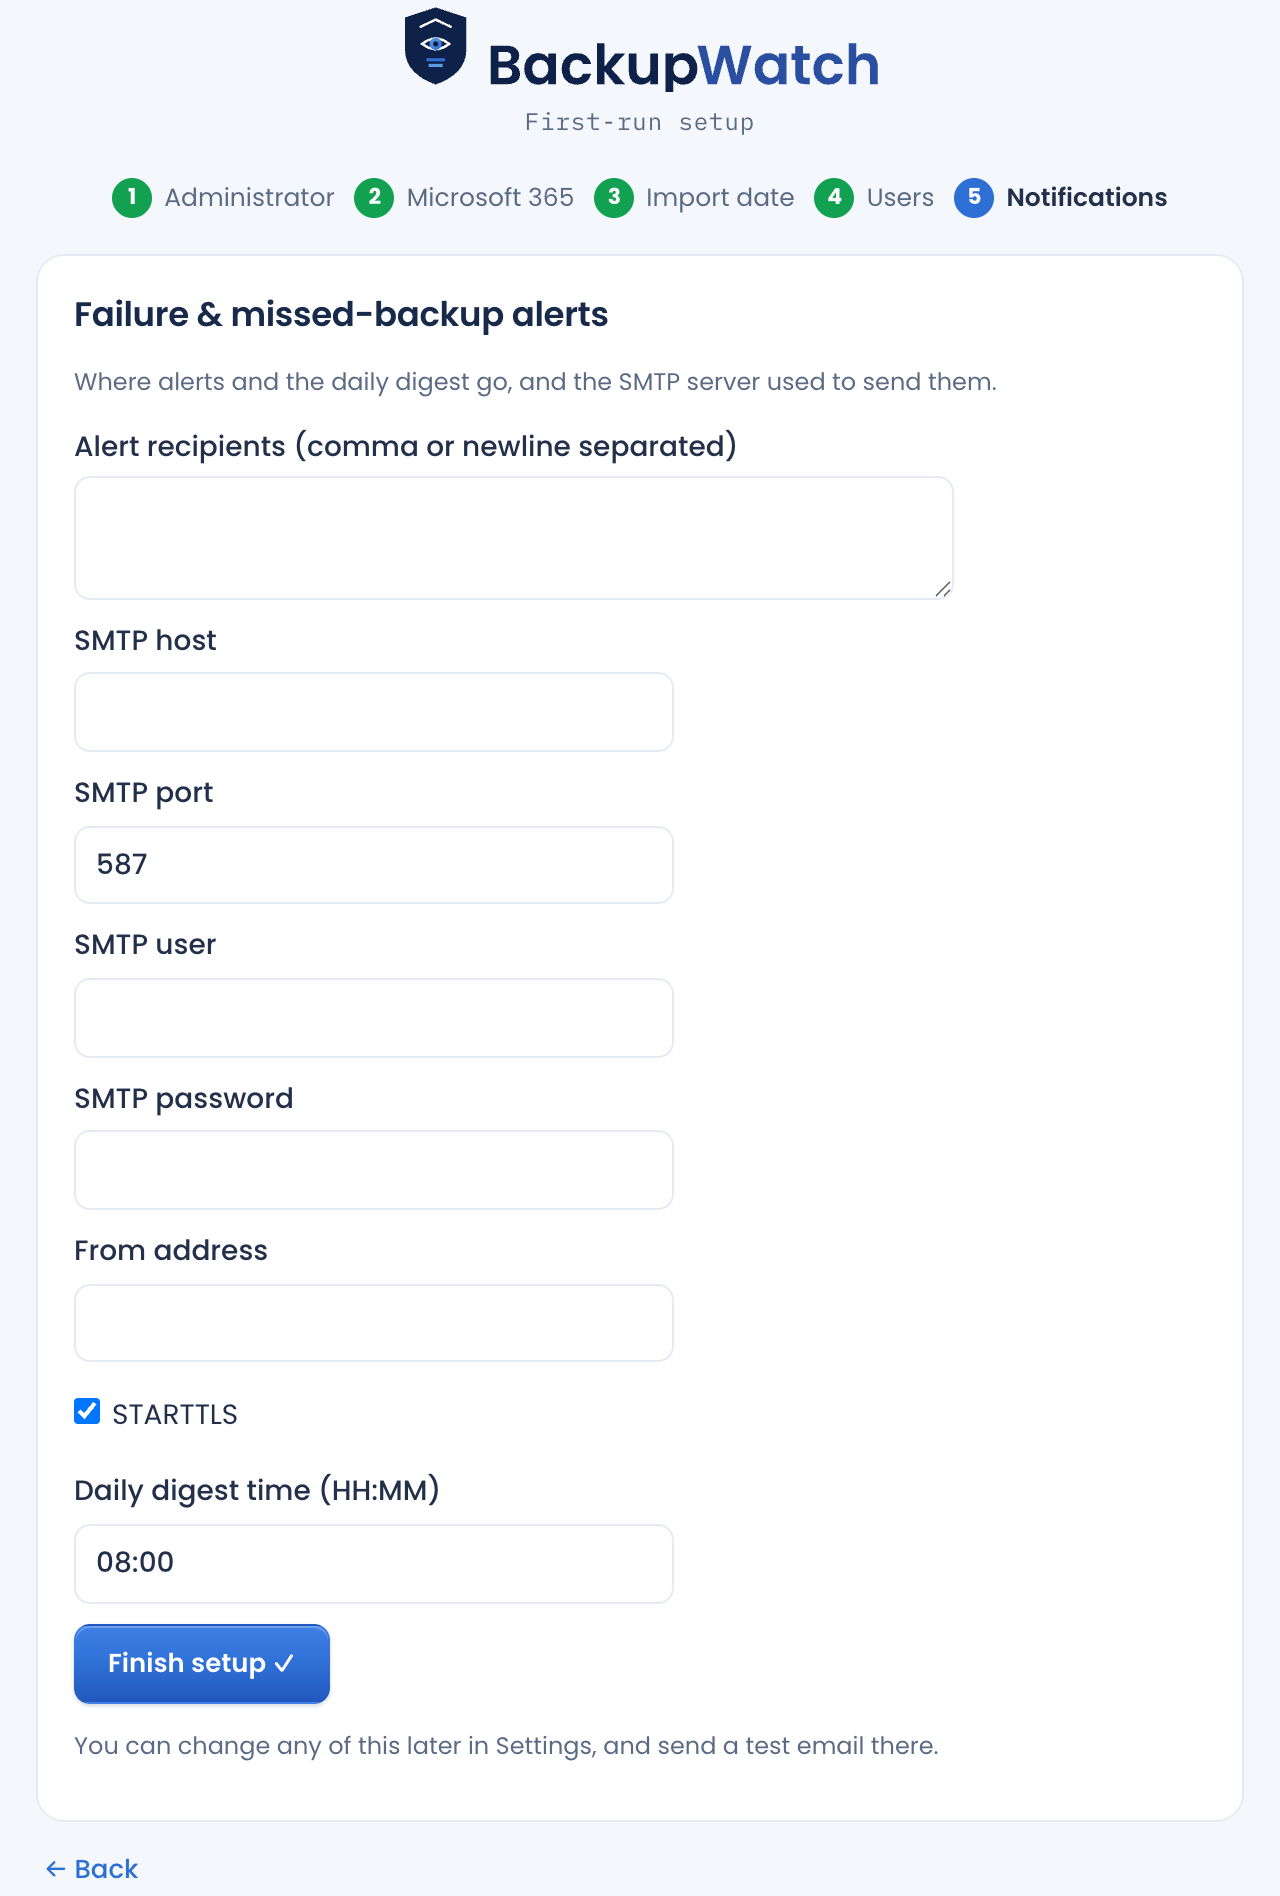
Clicking Finish setup takes you straight to the dashboard — empty until you add your first client and job.